 Pin
PinIf you’re an avid hiker and looking for a serious challenge, consider hiking to The Mount Brown Lookout when visiting Glacier National Park. Less famous than The Highline Trail, this hike is significantly more strenuous and offers the best views of Lake McDonald in the entire park.
But be warned, as the trail climbs a blistering 4,200 ft (1280 meters) during the 5 mile (8 km) ascent to the fire lookout tower. To make matters worse, the trail is so steep that the 5 mile journey back downhill is almost as tough as the trek up!
Those that accept the challenge will be rewarded with the opportunity to sit atop the fire lookout that resides near the peak. From here you’ll enjoy arguably the best views of West Glacier and Lake McDonald which resides just below the mountain.
 Pin
Pin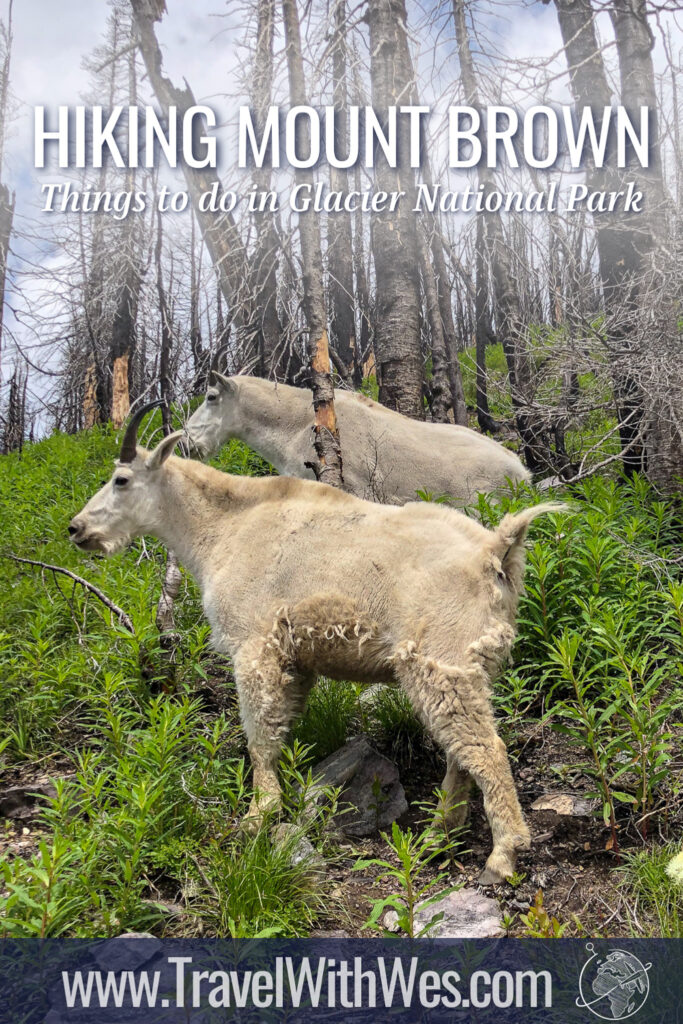 Pin
PinDuring my first visit to the park we decided to accept the challenge of hiking Mt Brown Lookout.
While we underestimated the difficulty and it completely kicked our asses, it was an amazing experience and a trail I’d like to revisit one day.
The only difference is that I’d heed the advice offered in this post before doing so and make sure we’re more adequately prepared on our next attempt.
Disclaimer: this website uses affiliate links which may allow me to earn a commission when used at no additional cost to you.
In this post I’m going to cover everything you should know before hiking to the Mt Brown Lookout in Glacier National Park!
Where is the trailhead located?
Glacier National Park is located in northern Montana, near the border with Canada. The Mount Brown Lookout Trailhead can be accessed via the West Glacier Entrance. The West Glacier entrance drops you off near Apgar Village and Lake McDonald.
I’d recommend staying in the nearby town of Whitefish which provides great access to the western entrance. In Whitefish you can enjoy many city amenities such as bars, restaurants and shopping.
The drive from Whitefish to this entrance takes about 30 minutes. Once inside the park the drive to the Mt Brown trailhead will add another 30 minutes. You should reach the trailhead a bit before the Avalanche Creek area which is the starting point for The Trail of the Cedars Nature Loop and Avalanche Lake hike.
The trailhead itself begins across the street from Lake McDonald Lodge. If you can secure lodging here it can make hiking in this area much easier. Otherwise you’ll need to arrive first thing in the morning to secure a parking spot.
 Pin
Pin
Be mindful that the lodging options within Glacier National Park tend to book a full year in advance so you’ll need to plan accordingly if that’s your preferred option.
Planning a trip to Glacier? I’d recommend reading my post covering a number of useful facts and tips about Glacier National Park to assist you during that process when you’re done here. I’ll get into more specifics about park logistics, lodging and more!
Here's what to expect when hiking to the Mount Brown Lookout
First things first when it comes to conquering Mount Brown, I know I preach it a lot for hikes on this blog but you need to arrive extremely early in the morning when attempting this hike.
The benefits here are twofold. The first benefit is securing parking at Lake McDonald Lodge (even better if you’re staying here!) since you won’t want to park further away than necessary.
If you fail to secure a parking space here chances are one won’t turn over for hours, I’d recommend arriving before 7:00am, and ideally closer to 6:30am.
Second, this is a really, really long hike. With a distance of around 10 miles (16 km) you should budget anywhere from 7 to 8 hours for hiking. Be sure to budget additional time for enjoying the lookout once you reach the top!
This hike is extremely rigorous on the way up so chances are you’ll move more slowly than you’d expect and require more breaks than usual.
By starting early you can also avoid some of the harshest sun exposure of the day. Be sure to pack sunscreen since a good portion of this hike is exposed.
Once you’ve secured parking at Lake McDonald Lodge head across Going to the Sun Road. You’ll see signs for Sperry Chalet and Snyder Lake, the Mount Brown Lookout portion will spur off shortly.
The earliest portion of the hike features a slight uphill grade. Be wary, as this grade will increase substantially further into the hike.
Now that you’ve been warned, be sure to enjoy the mild nature of the first portion of this hike as it peacefully snakes through the old growth forest. There are some opportunities through this section to enjoy views of Lake McDonald and Snyder Creek which hugs the early section of the trail.
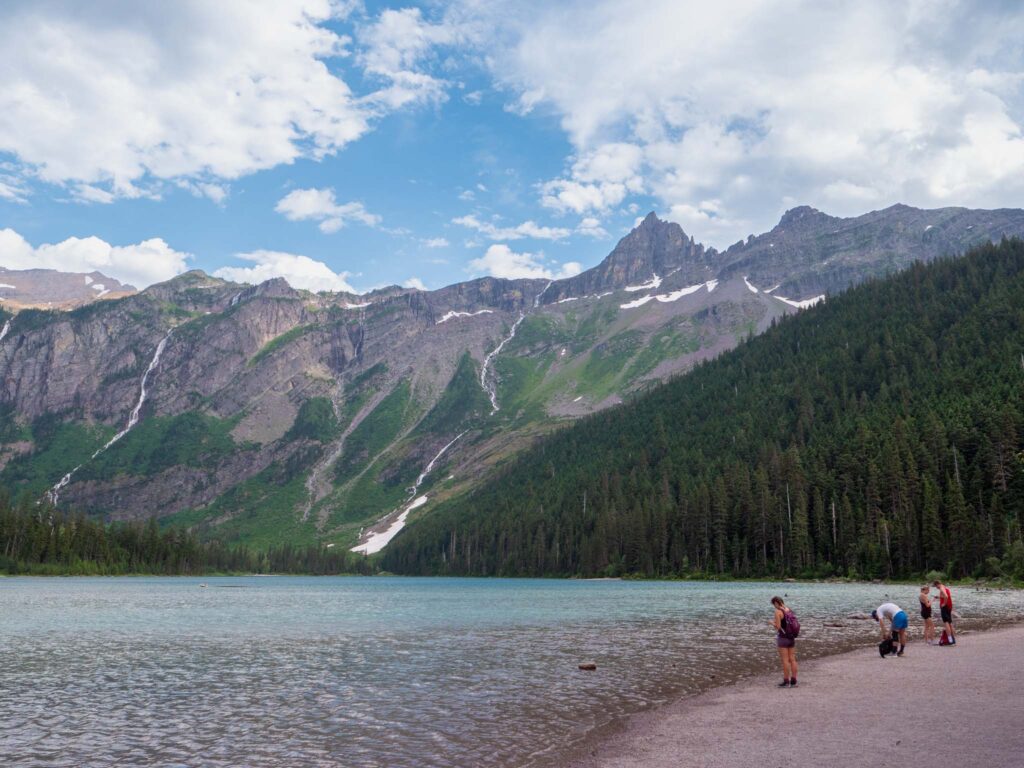
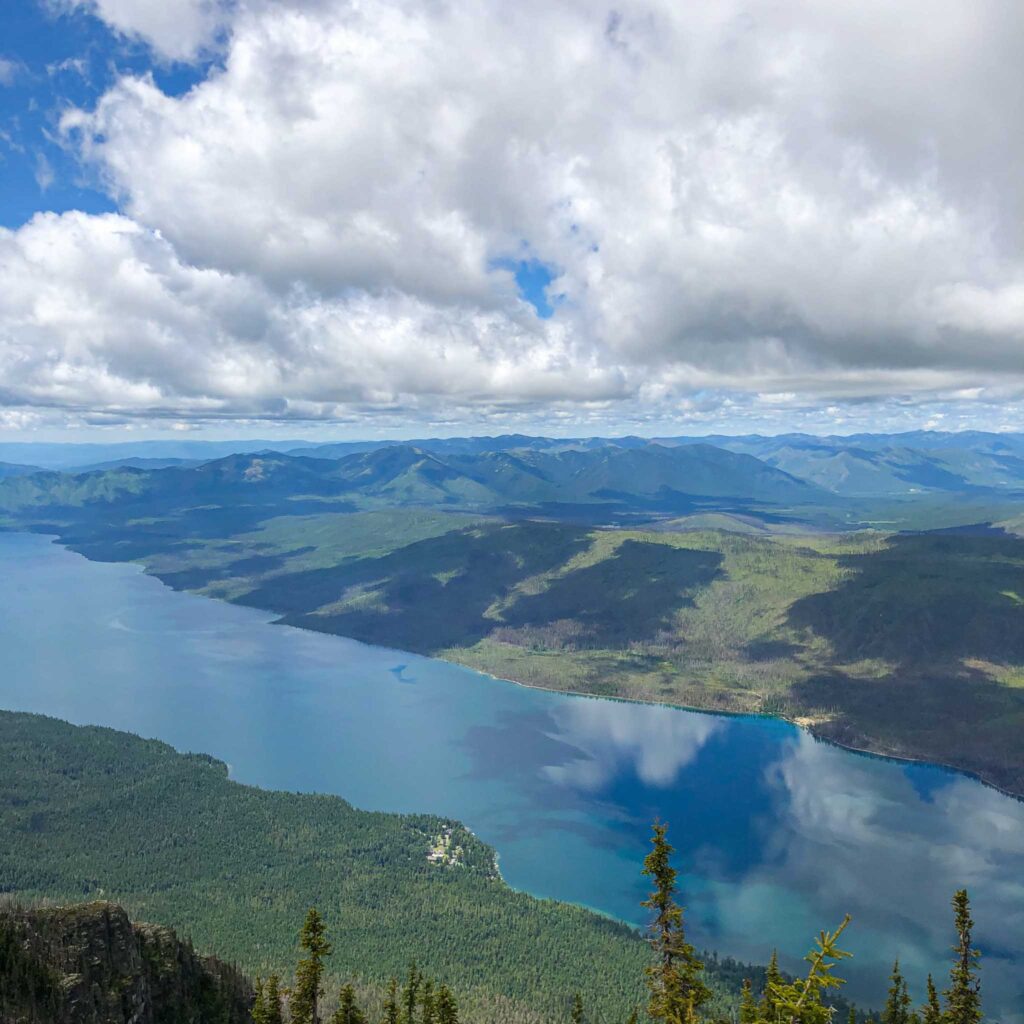
In fact, the hike to Mount Brown Lookout offers some of the most amazing views of Lake McDonald in all of Glacier National Park. They get better and better the higher you climb!
As you’re hiking keep an eye out for the Mount Brown Lookout spur, as you’ll need to turn off from the main trail.
Almost immediately after turning up the spur towards the lookout is when the difficulty of this hike ratchets up a few notches.
At this point the trail will narrow a bit and begin to offer hikers a much more challenging incline to climb.
There’s nothing technical about this hike, and despite the steep grade there really aren’t any sheer drops to deal with like you would along The Highline Trail. For this reason, it’s a good challenging route for anyone uneasy with heights or vertical drops.
Despite this, I can’t emphasize enough how difficult this hike is. You’re gaining nearly a full mile (1.6 km) elevation on this hike over the 5 mile (8 km) ascent. That’s nearly 1,000 feet of gain for each mile (300 meters per 1.6 km)! Nasty stuff.
 Pin
Pin
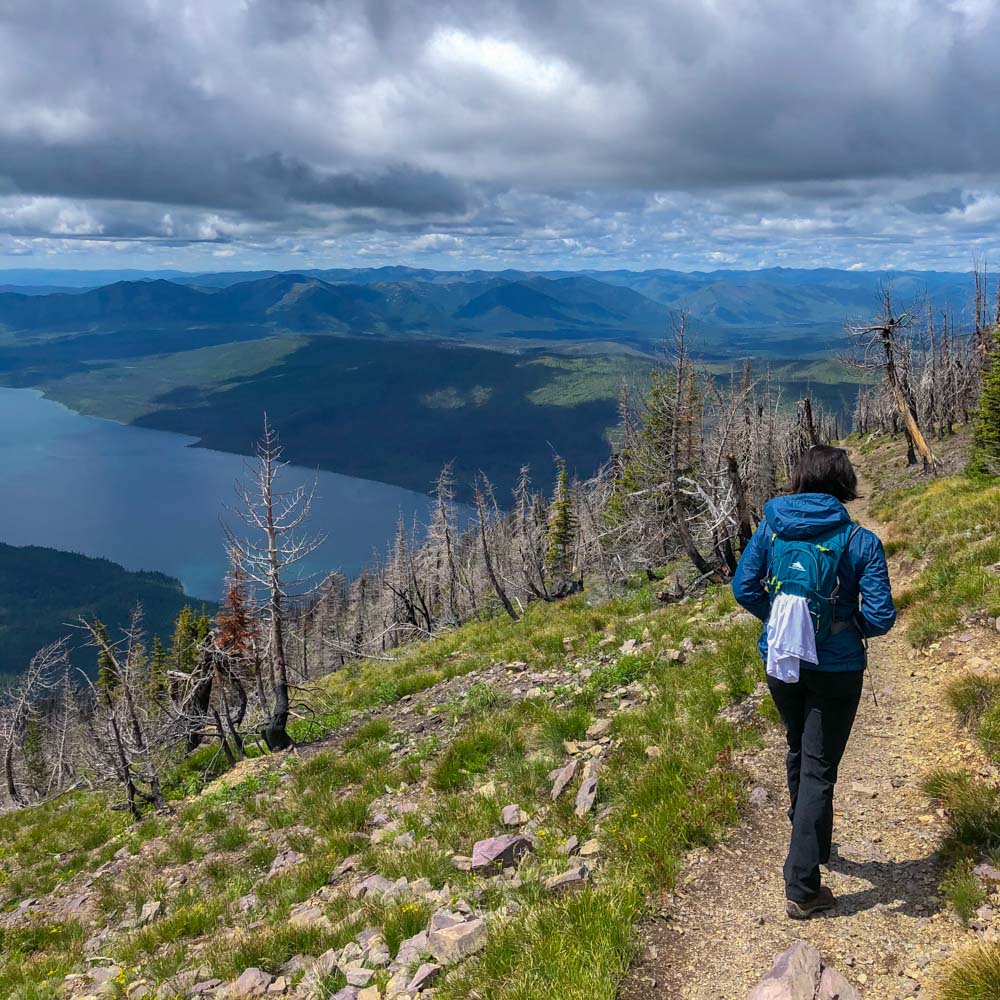
As you go higher the tree line will continue to thin out. This will offer incredible panoramic views of West Glacier. Eventually you’ll come across extremely sparse regions of the mountainside.
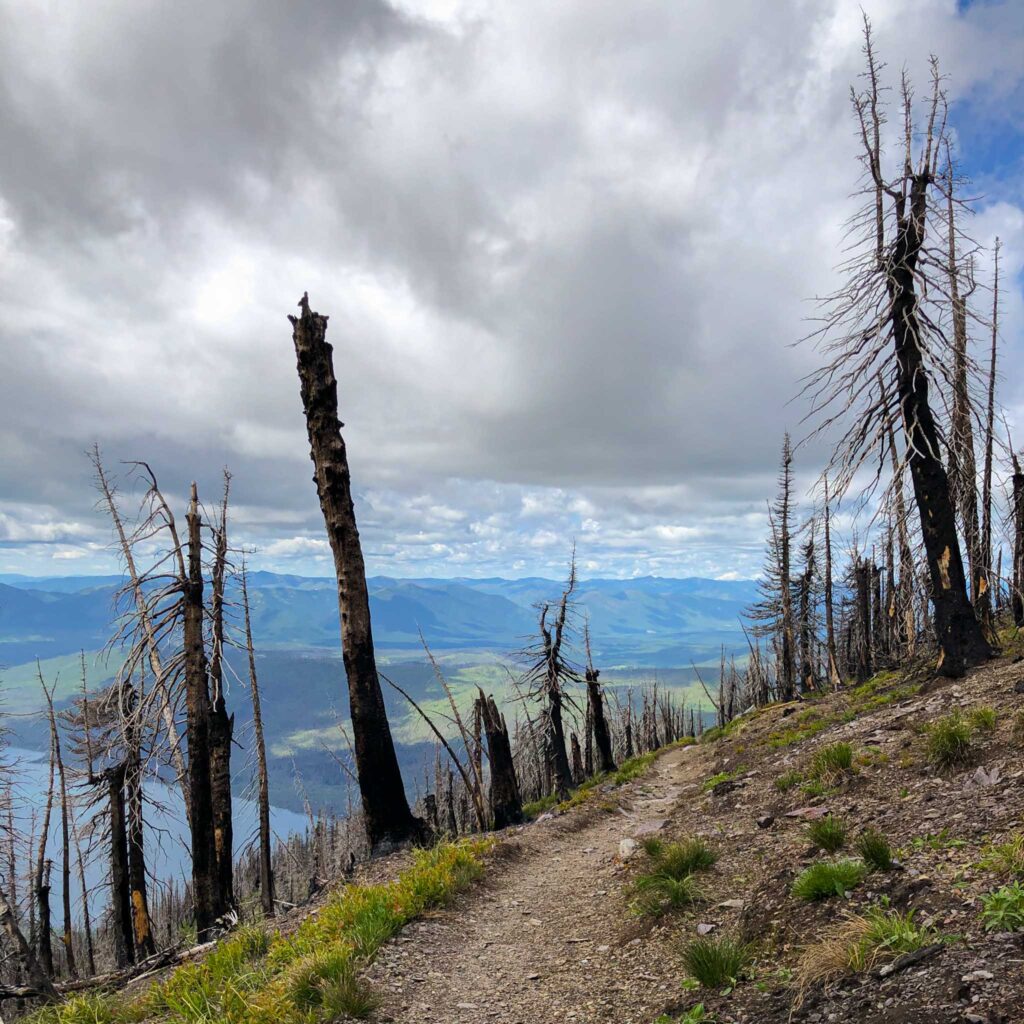
You’ll probably also start to notice a number of trees that were damaged in the 2017 Sprague forest fire. This is the forest fire that destroyed the Sperry Chalet, which has since been restored.
By this point sun exposure will start to become an issue. As you enter late morning you’ll also be losing your tree cover so again, make sure you’ve packed sunscreen.
The weather pattern of this hike can be a bit difficult as well. It starts cold early in the morning, even during the summer months. You’ll start to warm up later in the morning as the tree cover fades, but will eventually cool back off as you gain elevation and the wind picks up near the summit.
You’ll want to prepare thoughtfully for this one and I’d recommend leaning into my day hike packing list to ensure you don’t leave behind any essentials. Packing layers is critical for regulating temperature on this hike.
Pack extra water, salty snacks and definitely bear spray since this hike spans a remote and less traveled portion of the park.
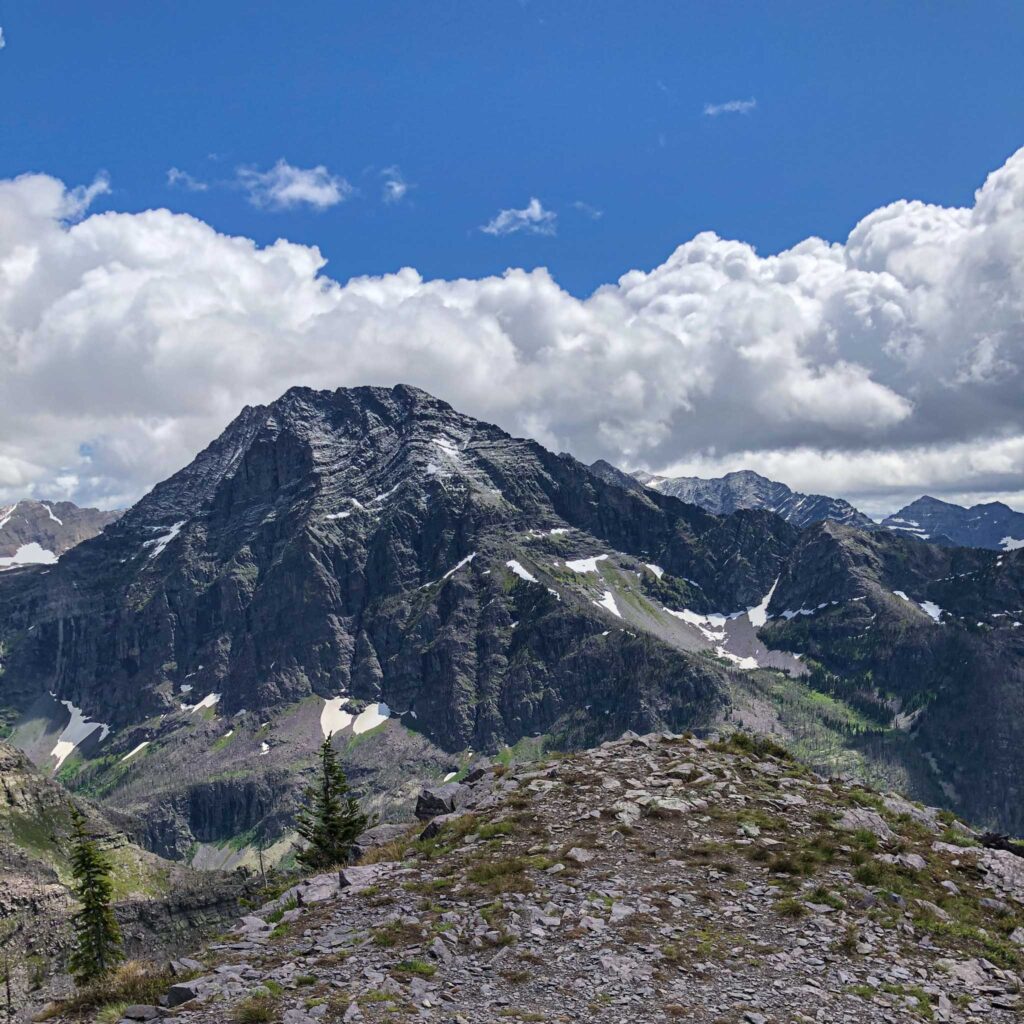
As you continue higher and higher through the burnt out portion of the forest you’ll start to encounter some really epic views of the surrounding mountain peaks.
 Pin
Pin
The hike will maintain its brutal incline through this section as you make over 30 steep switchbacks during your climb.
By this point we were within about a mile of the lookout and were starting to consider turning back. We were completely gassed and knew we still had a very long journey back down the mountain.
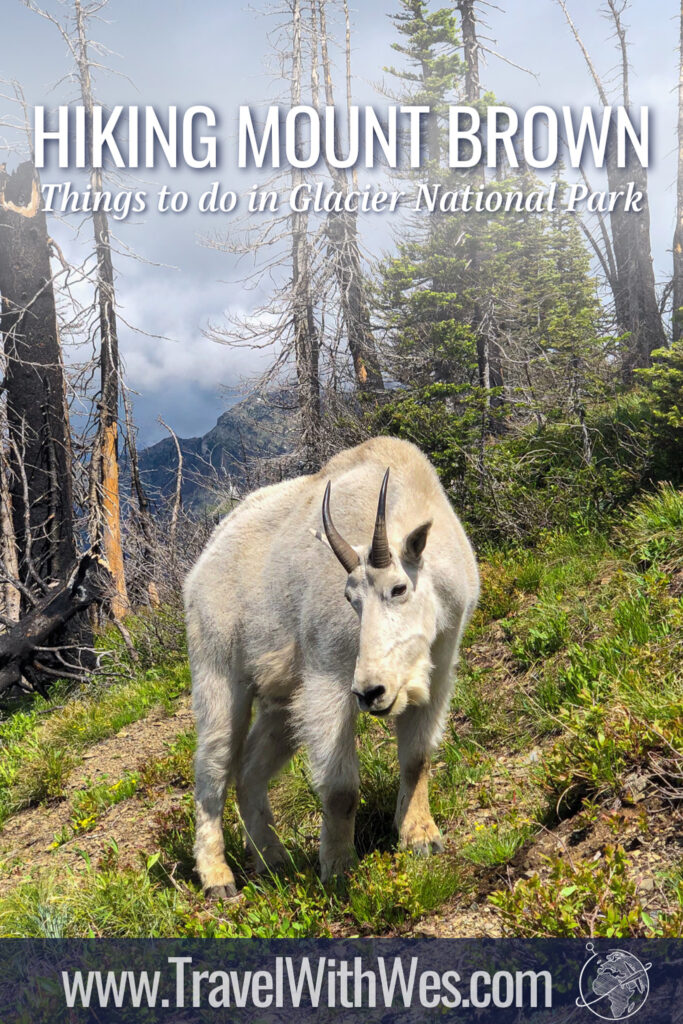
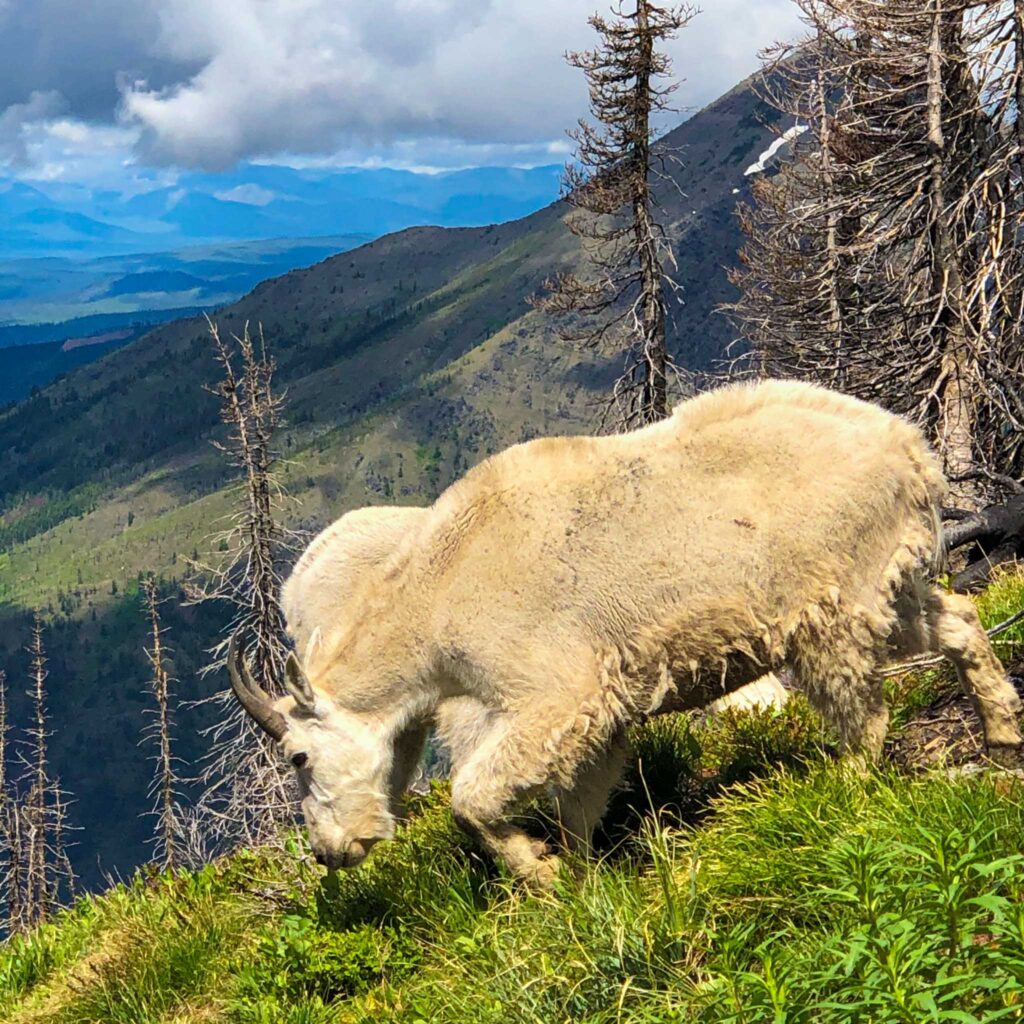
Right about this time is when Glacier offered us my all time favorite hiking experience. When turning a blind corner around a switchback we were greeted by not one.. not two.. not three.. but FOUR mountain goats that were marching down the mountainside.
Ideally you’ll be keeping your distance from any wildlife you encounter, but these meaty beasts suddenly appeared out of nowhere to grace us with their presence.
Seeing this group of mountain goats up close seemed to give us just enough of a spark and second wind to commit to the last leg, and I’m really happy we did.
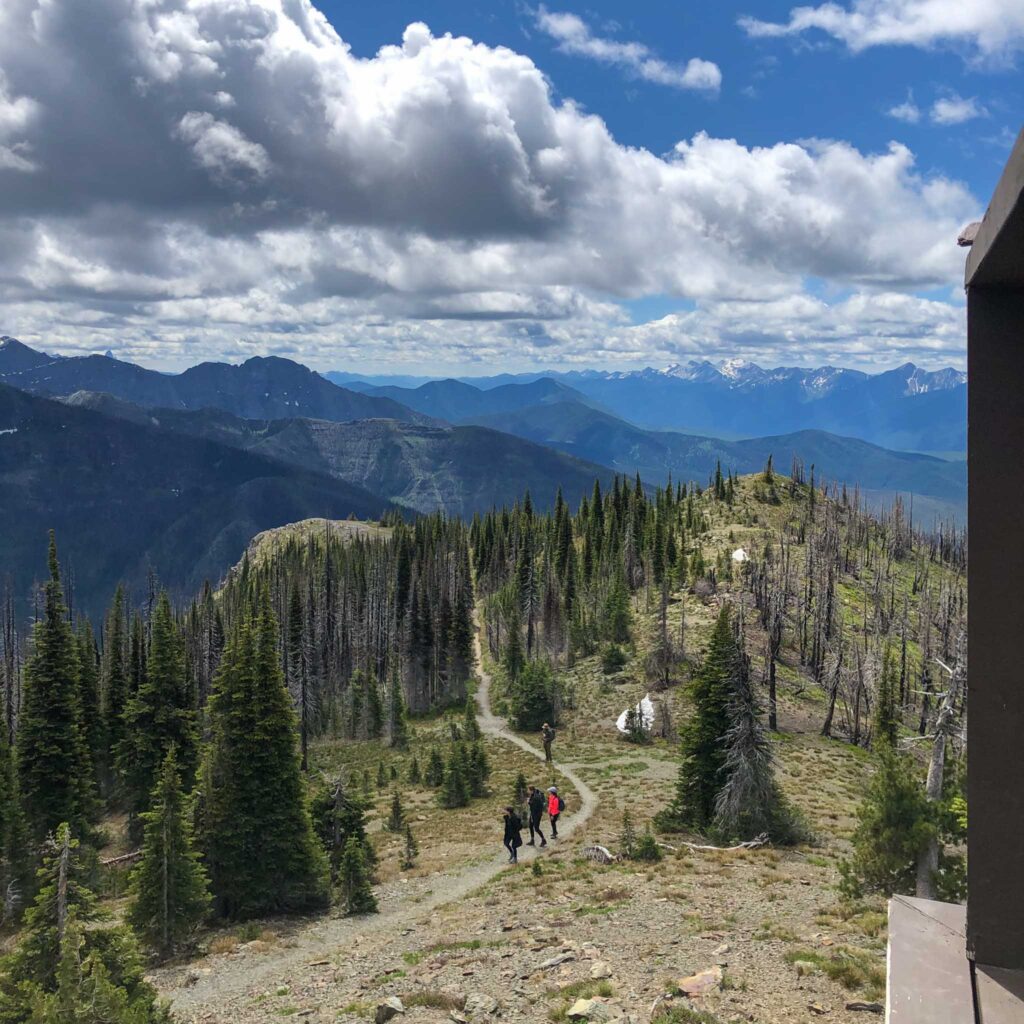
Once we finally cleared the last switchback the trail flattens out slightly and offers a glimpse of the lookout tower. Finally!
 Pin
Pin
And yes, you can go up the actual lookout tower to enjoy some of the most unique and spectacular views in all of Glacier National Park and the best views to be had of Lake McDonald.
It can be a bit windy up here so let this serve as a reminder to pack adequate layers. You don’t want to put in all that work only to be too cold to enjoy the views and a hard earned break at the lookout.
Pro tip – by this time my feet were hating me and we still had to go the exact same distance back down the mountain. This is a hike wear popping on a fresh pair of dry socks can go a long long way in refreshing your feet. Pack an extra pair and swap them out at the lookout, you’ll thank me later!
Once you’ve had your fill of the views from the lookout it’s time to start back down the mountain.
Since it’s all downhill from here it will be easy right? Wrong!
This hike is SO steep that the way back down presents its own challenge.
At this point I’m going to highly recommend you bring trekking poles for this hike. They’d be helpful on the way up but even more so on the way back down for protecting your knees.
You’ll move a lot more quickly heading back down and while you might not expend the same amount of energy as on the way up, it will be extremely difficult in its own way. Especially after wearing down your legs on the way up.
Don’t underestimate this portion of the hike!
Once you eventually reconnect with the Sperry Chalet and Lake Snyder Trail where the lookout trail originally spurs from, the path grade will moderate and you can enjoy a much more peaceful finish to your lengthy day hike.
Give yourself a pat on the back for nearly completing a half marathon with over 4,200 feet of elevation gain!
What is the best time of year to attempt this hike?
Since the trail for the Mt Brown Lookout originates near Lake McDonald in the lower park elevations, it’s usually open in the spring and early fall. If you’re visiting Glacier outside of the peak hiking season during summer, this is a great challenge hike to add to your itinerary.
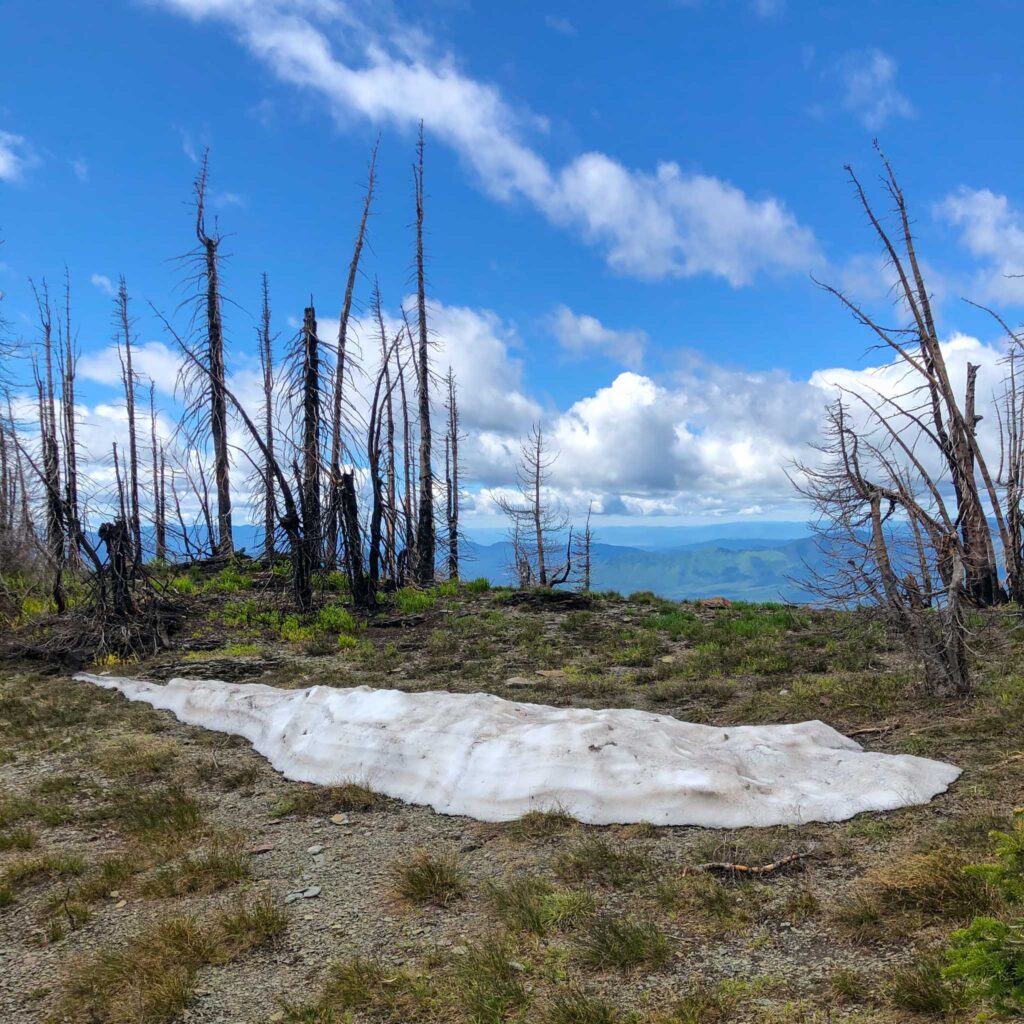
Be mindful that despite its lower elevation starting point, you’ll gain over 4,200 feet as you work to the top which approaches the 8,569 foot (2612 meter) summit. Given the significant change in elevation it’s not uncommon for trail conditions to deteriorate as you near the end.
 Pin
Pin
Even in midsummer it’s possible for patches of snow to be present near the lookout. If you’re visiting in the spring or fall the odds of encountering snow or ice near the top will increase.
If you’re visiting the park during the late summer keep in mind that wildfires are not uncommon throughout the region. This can create hazy conditions that negatively affect air quality and visibility.
How long is the hike to Mount Brown Lookout?
This is a long and challenging hike spanning over 10 miles (16 km). The majority of the trail is at a fairly steep grade as you’ll ascend over 4,200 feet (1280 meters) during your hike.
Along the way you’ll climb 30+ switchbacks. I can’t tell you how many times I thought we were “near the top” only to be faced with switchback after switchback.
Don’t fool yourself into thinking the five miles back down will be an easier trek than the way up. While it should be a quicker descent, your legs and knees will be tired at this point which makes the way down more challenging than you’d expect.
You can check out more trail details and download maps at AllTrails.com.
Will I encounter wildlife when hiking in Glacier National Park?
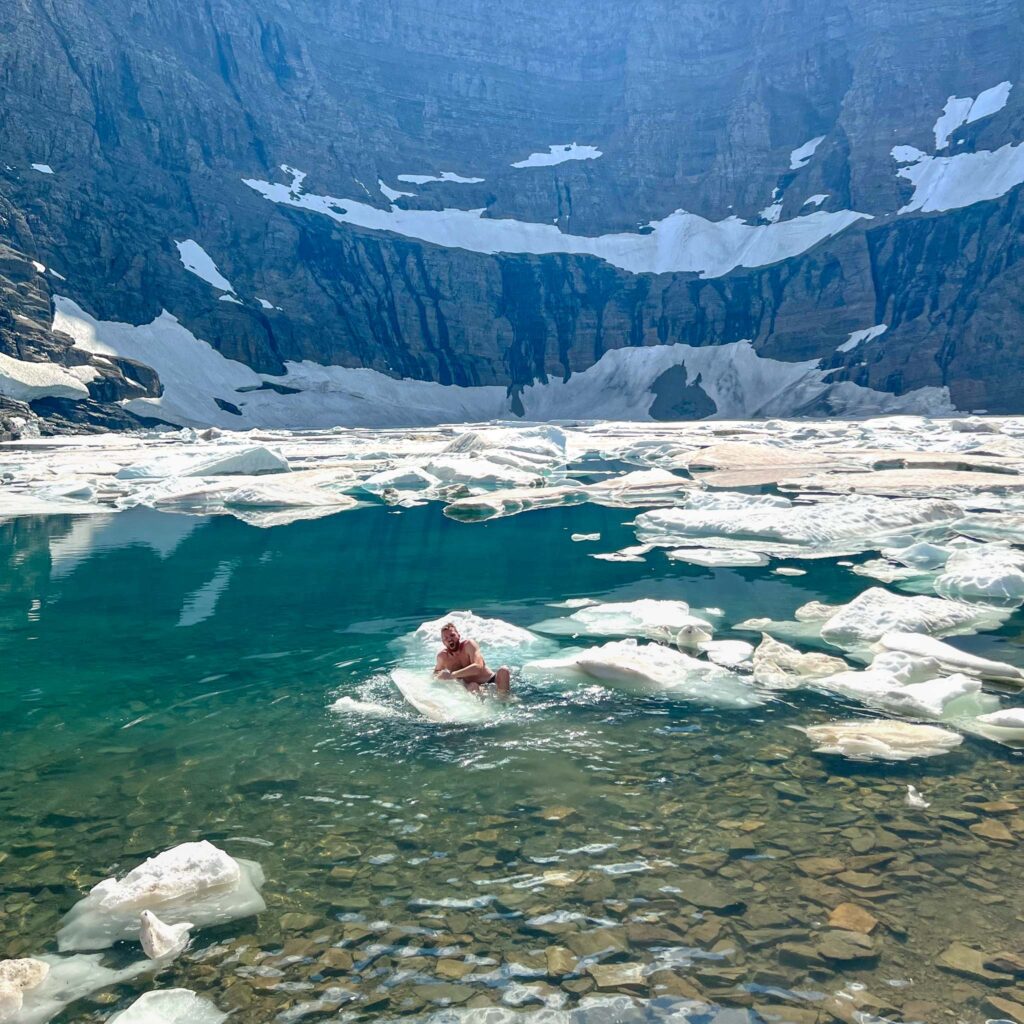
Rule number one of hiking in Glacier National Park is that you need to have bear spray easily accessible at all times. During my most recent visit to the park we encountered two bears on trails (one during our return hike from Iceberg Lake) and another near the Many Glacier Hotel Parking lot.
The National Park Service has a guide on bear safety which I would recommend reading before heading out into Glacier National Park’s vast wilderness.
 Pin
Pin
If you’re flying into the region from out of town the most cost effective way to acquire bear spray is by renting it from the airport. There’s a shop near the baggage claim area that will rent you some, you can’t miss it.
While we didn’t encounter any bears on this particular hike, we did come across a group of four mountain goats near the top which made for a really cool experience.
One of the best areas in the park for spotting wildlife is nearby Logan’s Pass and any hikes originating from this area. Be sure to check out my post on hiking to Hidden Lake if you want to increase your odds of spotting wildlife during your visit.
Is this hike okay for people with a fear of heights?
Despite the significant elevation gain of this trek, there really aren’t any sheer drops or situations where someone with a fear of heights should feel that uncomfortable.
As you reach the switchbacks at higher elevations, you’ll be fairly exposed to the mountainside but the terrain isn’t that steep.
When I hiked Mt Brown I still had a mild discomfort with heights, but there wasn’t anywhere along the trail that caused me issues.
If you are comfortable with heights, there are a couple of really cool pull offs along the trail that make for great resting areas and photo ops. You’ll encounter these near the top and they’re just off the trail, so you won’t miss them.
These areas are much more exposed to drops but provide incredible views of the surrounding mountain faces.
If you struggle with heights or have determined this hike is too much for your Glacier trip, the hike to Grinnell Lake or hike to Redrock Falls in Many Glacierare much more manageable and should be on every visitors itinerary. Be sure to check those posts out as well.
Are there bathrooms along the trail?
Once you set out on the trail you won’t have an opportunity to use a proper restroom the entire day. Be sure to use one before departing the Lake McDonald Lodge area.
There’s a decent amount of tree cover for the first half of the hike (or so) should you need to take care of business.
Once you get to the higher elevations, the trees thin out (many were burned up in a forest fire) and there isn’t any type of restroom facility at the Mt Brown Lookout itself.
What should I pack for this hike?
The trek to the Mt Brown Lookout is extremely rigorous and you’ll need to prepare properly if you plan to reach the top. The uphill grade will slow most hikers down so you should prepare to spend 7-8 hours on the trail.
This duration means you’ll need to pack enough food and water to sustain yourself for most of the day. Dehydration is a real risk on a hike of this length so I’d err on the side of overpacking water and salty snacks.
I tend to drink a lot of water when I hike, and I went through my entire 3L water reservoir on this one.
 Pin
Pin
Even if you start early you’ll probably be exposed to the midday sun for at least a few hours. Bring sunscreen at minimum and seriously consider wearing pants and a light moisture wicking top layer to cut down exposure. Don’t forget a hat and sunglasses while you’re at it!
Pack layers as the temperature on this hike can fluctuate significantly depending on whether you’re in tree cover, exposed to the sun or facing windy conditions.
Weather can change quickly in the mountains and you’ll be gone for most of the day. This is a situation where I’d recommend bringing a small first aid kit, rain jacket and some type of map with you just in case.
AllTrails Pro is a great resource to track your location and progress. Just be sure to download the map beforehand and charge your phone since the GPS can drain your battery quickly.
Trekking poles are highly recommend for this hike given the steepness and potential for snow or ice near the top. Your knees will thank you on the way down!
If you’re a novice hiker and just getting into longer day hikes I’d recommend reading my post on day hike essentials. It’s a complete packing list that should cover everything you’d need for this hike and more.
For anyone still looking for more things to do outside of the Mount Brown hike, be sure to check out my guide covering the best activities in Glacier National Park once you’re finished here.
When is the best time of day to hike to Mount Brown Lookout?
There are several reasons you’ll want to arrive extremely early in the morning when attempting the hike to Mount Brown Lookout. I discussed these earlier in the post but want to emphasize them here.
First, the parking lot at Lake McDonald Lodge can fill up early in the morning. During the busy season it’s not uncommon for this area to fill up by 7:00am.
If you fail to secure a spot you’ll either have to park down the road, adding length to this already long trek, or you’ll have to sit and camp out for a spot. That’s the last thing you want to deal with ahead of a long day trek.
The second reason to arrive super early is to avoid sun exposure and midday heat as much as possible. Much of the hike is exposed so you’ll be taking a beating from the sun as you climb through the higher elevations.
Learn about the best things to do in Glacier National Park on YouTube
Check out these activities available in the area
Looking for more ways to fill out your trip itinerary? Be sure to check out the list of activities below from GetYourGuide.
Read my Timed Entry Reservation Guide
There’s one mistake you cannot afford to make when visiting US National Parks. Showing up without a timed entry reservation is a guaranteed way to blow up what should be an otherwise stress free day exploring Americas most beautiful destinations.
Check out the best things to do in Glacier National Park on YouTube
Fortunately – I’ve put together a comprehensive guide walking you through that process. I also provide useful tips on how to get the best time slots and what to do if you find yourself without a reservation.
You can access my Timed Entry Reservation Guide here.
Additional Travel Planning Resources
Subscribe to my newsletter
Stay up to date with my latest travels, trending travel news, group trips and trip planning guides. You'll receive a $100 travel voucher to use on one of my group tours and my Cheap Flight Hacks PDF Guide when you register!
My Favorite Cheap Flight Hacks
Tired of paying full price for airfare? You're not alone.
Paying for flights is one of the biggest travel expenses and unless your destination is within driving distance, it's difficult to avoid.
 Pin
Pin
But there are a number of useful hacks and tricks I've used over the years to ensure I pay the bare minimum when I fly and I've compiled all of them into a guide to help you save on airfare costs.
Hire Wes to Plan Your Next Trip
Need helping planning your next big adventure? Whether you need assistance finding the perfect hotel or are looking for a fully planned adventure itinerary, I'm here to help!
 Pin
Pin
You can check out all of my travel advisor service offerings here.
Hiring me to plan your next trip is a great way to maximize your limited vacation time. Let me save you the hassle of trip planning while you benefit from my experience planning travels to over 25 different countries!
Explore Group Travel Opportunities
Interested in making new friends and traveling to bucket list destinations? Be sure to check out my upcoming group trip opportunities!
Not only will you have the opportunity to Travel with Wes to some of my favorite destinations, but all of the logistics will be taken care of. All you need to do is show up and enjoy.
 Pin
Pin
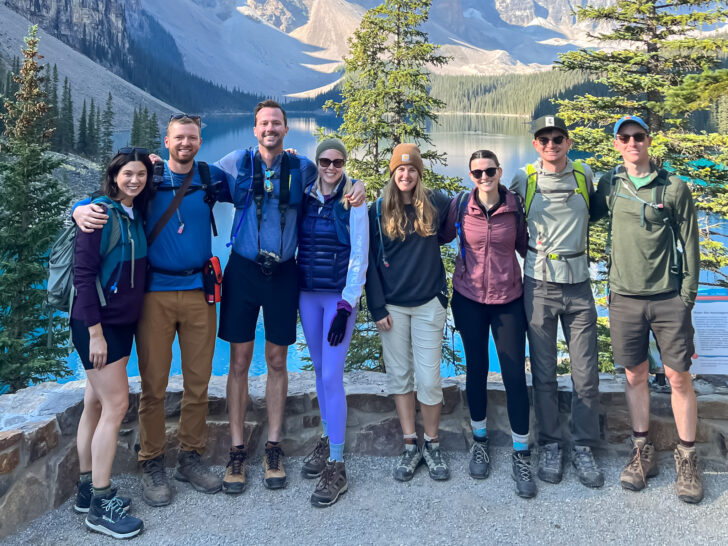
My current trip offerings are outlined below. If you're interested in joining me on a future adventure, you can submit your interest for group travel here.
- Learn more about my Northern Lights group trip to Norway
- Chase volcano views on this group trip adventure to Guatemala
- Hike the Canadian Rockies in Banff National Park
Don't see any group trips you're interested in? New destinations are always under consideration so be sure to check back in!
Learn More About Travel With Wes
If you're interested in learning about why I started this blog, head over to my about page. You'll learn all about my story, how I got into blogging and tips for using this travel blog.
Tips for Planning a Trip Abroad
Planning trips abroad can be tough. Especially if it's your first time or you're visiting a new country.
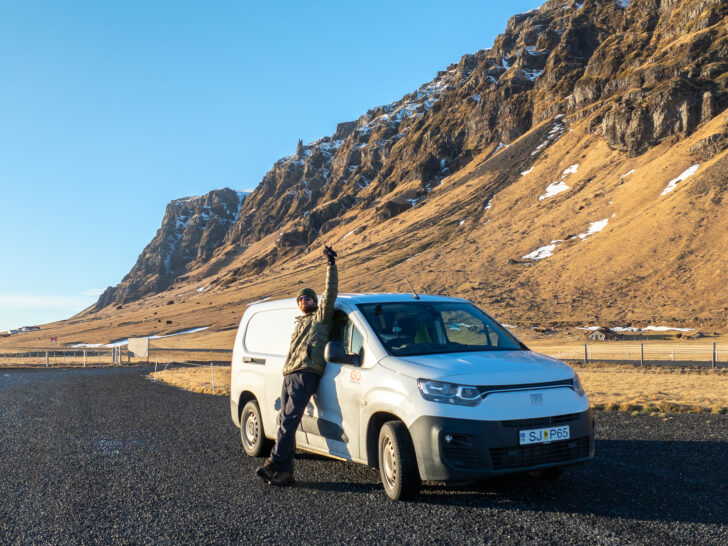
I've put together a guide that will help you work through all of the things you need to consider when planning a trip abroad.
 Pin
Pin
Things like packing the proper outlet converter, seasonality of desired activities and making sure to have backups of all your important travel documents are just a few tips I'll cover in this guide.
Check out my YouTube Channel
If you haven't already, be sure to subscribe to my YouTube channel!
 Pin
Pin
I publish highlights from all my adventures to my channel. It's a great way to find inspiration for your next trip and along the way I'll drop tons of useful tips to plan your visit to the destinations I cover.
Connect with me on Social Media
Social media is a great way to connect with me! You can use the links below to follow me on your favorite social platform:
- Follow me on Instagram
- Follow me on TikTok
- Join my page on Facebook
- Subscribe to my YouTube channel
- Follow me on Pinterest for travel inspiration
- Connect with my Fora Travel Advisor Page
- Shop Travel Gear on Amazon
I love hearing from readers, so drop a comment on a post or shoot me a DM with any travel related questions that you've got. I always respond!
If you still have questions about something I didn’t cover in this guide, be sure to drop a comment below. You can also find more posts on visiting Glacier National Park here or all of my Montana travel guides here.
I hope you found this guide to hiking the Mount Brown Lookout trail in Glacier National Park helpful and informative!
